Subdomains
A domain is rarely flat: it is made of a root (the apex, written @) and a hierarchy of subdomains such as www, mail, or blog.staging. happyDomain presents this hierarchy in a clear, navigable way so you can quickly find and manage each part of your zone.
The subdomain list
When you open a domain, the left sidebar shows the list of subdomains for the currently selected zone version. Each entry is displayed as a path relative to the domain, with the apex shown as the domain name itself.
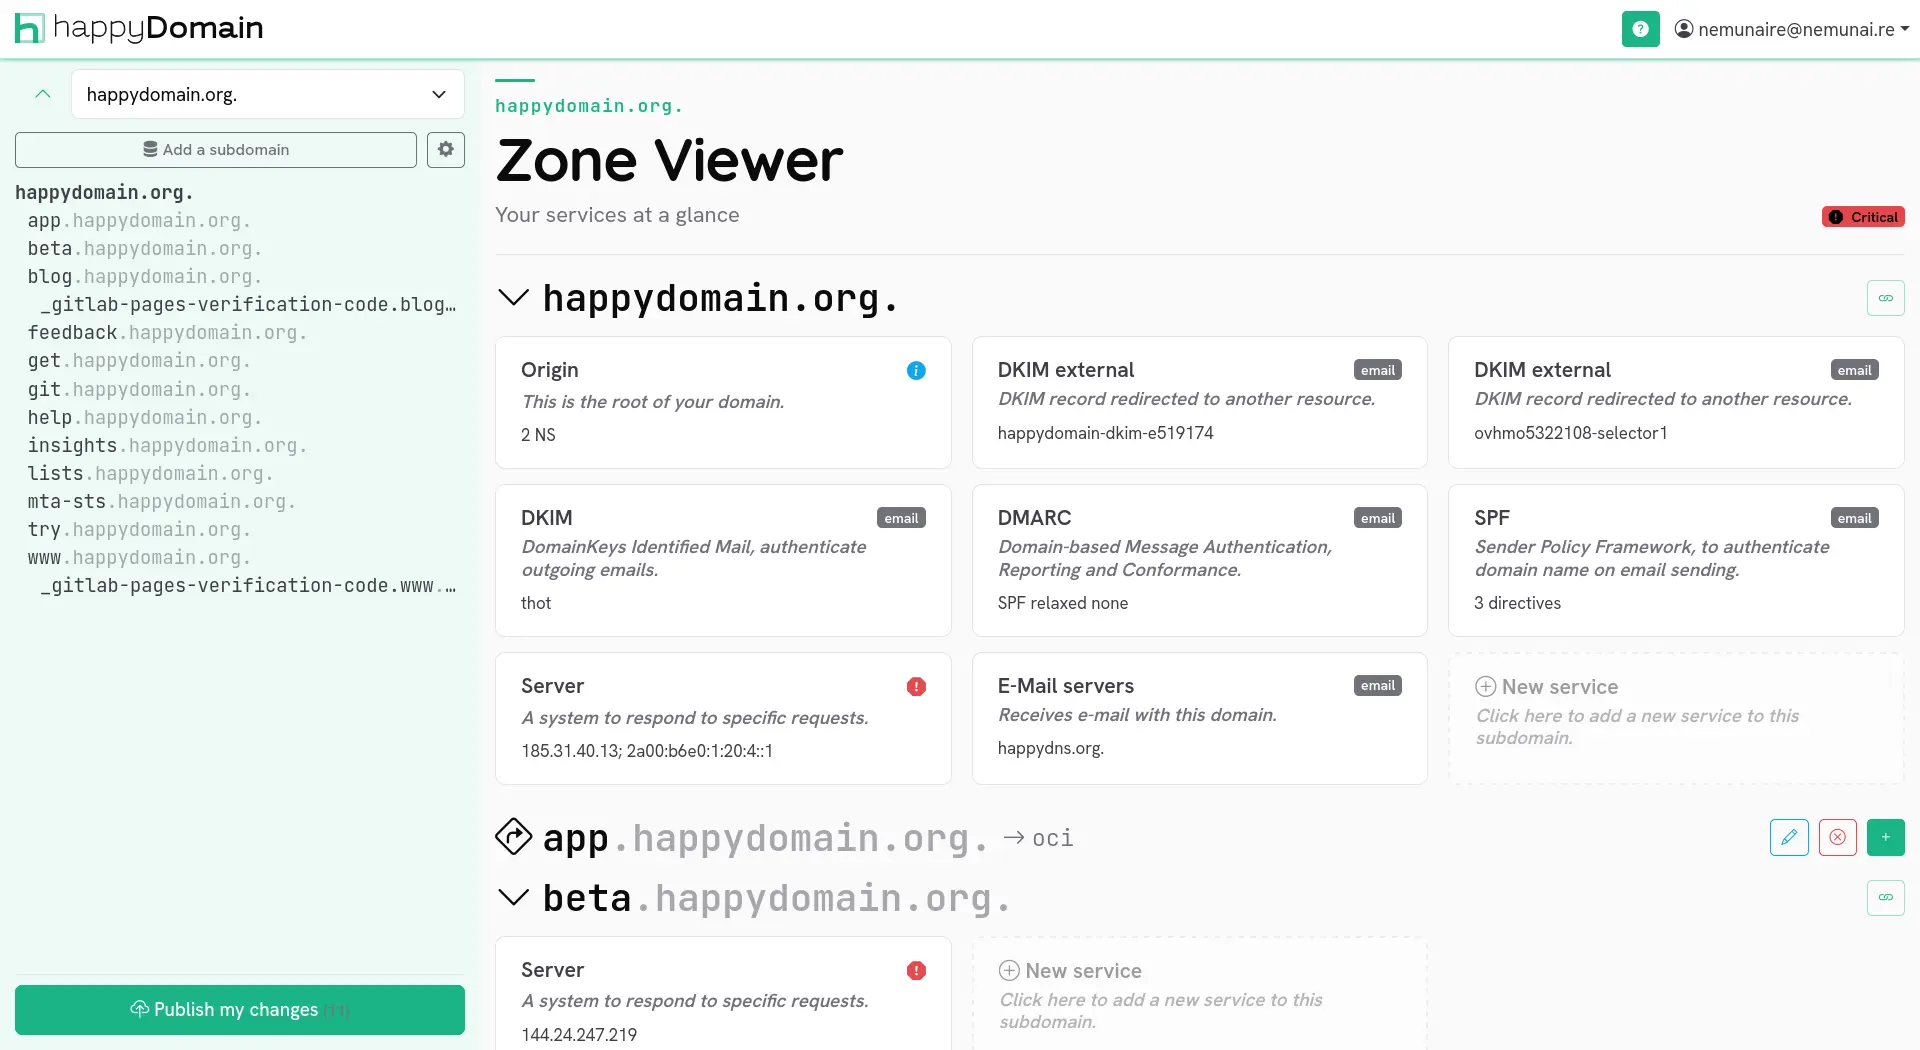
The list behaves like a table of contents:
- It is indented to reflect the hierarchy: a subdomain is shifted to the right according to its depth in the tree, so
blog.stagingappears nested understaging. - Clicking an entry scrolls the main panel to the corresponding subdomain.
- As you scroll through the zone, the sidebar highlights the subdomain you are currently looking at and follows along automatically.
Intermediate levels that do not carry any service of their own are still shown, so the tree remains coherent and easy to read. (For reverse zones, only the actual entries are listed.)
Managing a subdomain
Each subdomain in the main panel groups the services attached to it. From there you can add, edit, or remove services. Adding a service to an existing subdomain is covered in detail in Services.
Creating a new subdomain path
To create a brand-new subdomain (one that does not exist yet in your zone), use the Add a subdomain action at the top of the sidebar.
1. Enter the subdomain name
A dialog opens asking for the new subdomain to create under your domain. Type the name relative to the domain: for example, enter www to create www.example.com, or blog.staging to create a nested path in one step.
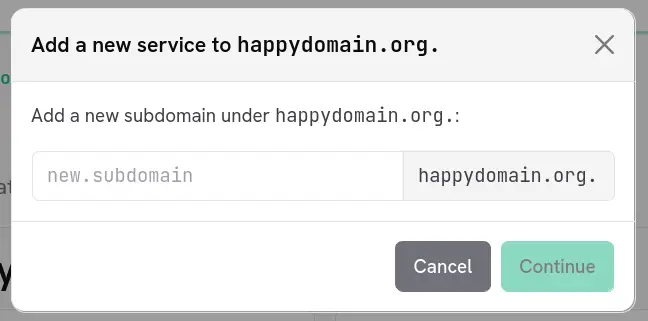
The name is validated as you type. You only need to provide the part to the left of your domain name; happyDomain appends the domain for you.
Apex and nested paths
Leave the field empty (or use @) to target the domain apex itself. You can also create several levels at once by typing a dotted path such as a.b.c: the intermediate levels are created as needed.
2. Add a first service
Creating a subdomain only makes sense if it carries at least one service, so happyDomain chains directly into the service selector once you confirm the name. Pick the service type and fill in its form exactly as described in Services.
The new subdomain then appears in the sidebar and in the main panel, with the service you just added.
Changes are staged
Creating a subdomain and its service does not contact your DNS provider immediately. Like every other change, it is staged locally and only sent to your provider when you publish the zone. See the abstract view for how to review and apply your changes.
Other domain actions
Next to the Add a subdomain button, a menu gives access to domain-wide actions, including: